Streamer.bot Chat
Multi-stream chat client with deep Streamer.bot integration
Features
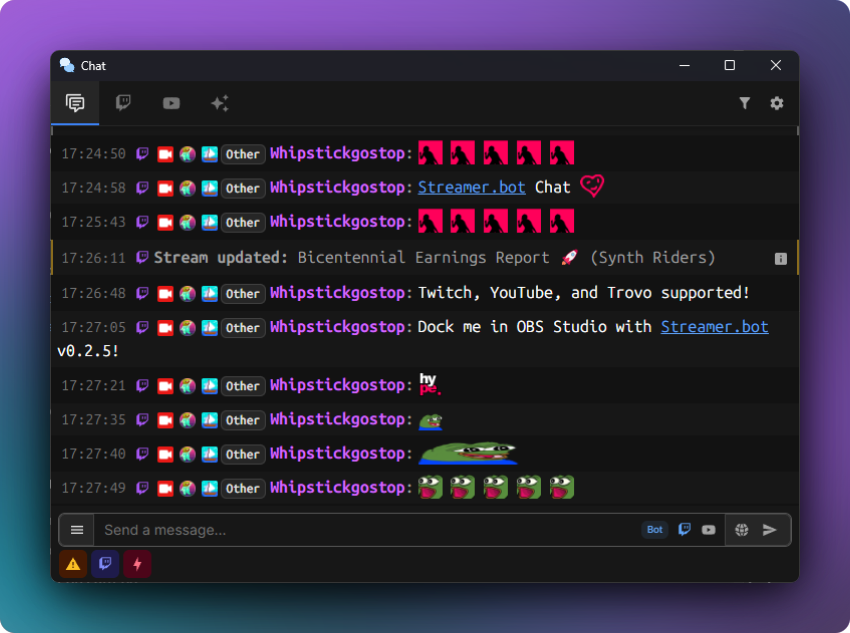
Streamer.bot ships with a built-in chat client to provide you with direct integration between chat and your bot's actions.
Multi Stream Support
To suggest a new platform to integrate with Streamer.bot, visit Streamer.bot Ideas & Suggestions
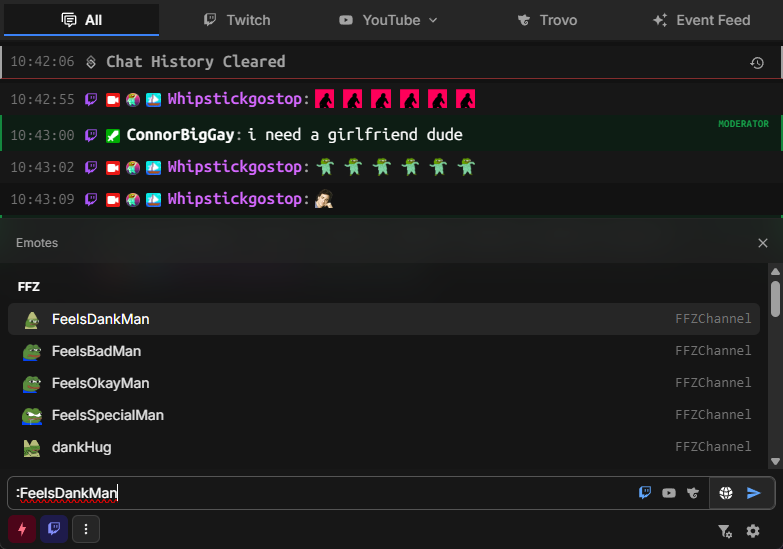
By default, the chat window will enable a tabbed view for all broadcaster accounts you have connected.
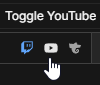
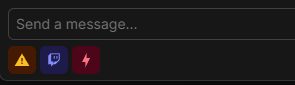
While on the combined chat view, you can toggle which chat(s) to send to:
Shortcuts
Keyboard shortcuts exist to easily direct your chat messages to/from different accounts:
| Keybind | Action |
|---|---|
| Enter | Send to selected chat(s) |
| Shift Enter | Send to all chats |
| Enter | Send to selected chat(s) with the bot account |
| Shift Enter | Send to all chats with the bot account |
Command Menus
Autocomplete menus exist for the following options:
| Keybind | Menu |
|---|---|
/ | Slash Commands |
: | Emote Autocomplete |
! | Streamer.bot Commands |
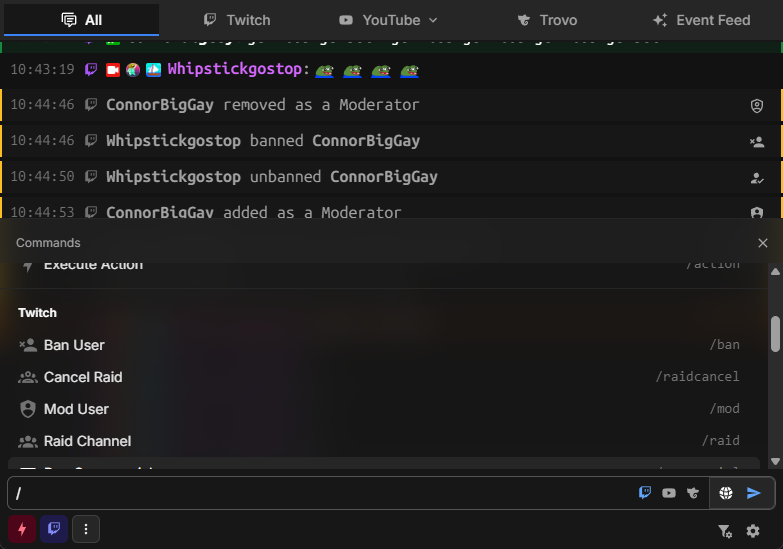
Slash Commands
Slash commands contain a set of actions that are directly integrated with your Streamer.bot instance.
For example, you can type /action to reveal a menu with all actions in your Streamer.bot instance to directly execute.
Some commands support Multi-Platform execution, such as /title which can set the title of both Twitch and YouTube broadcasts simultaneously.
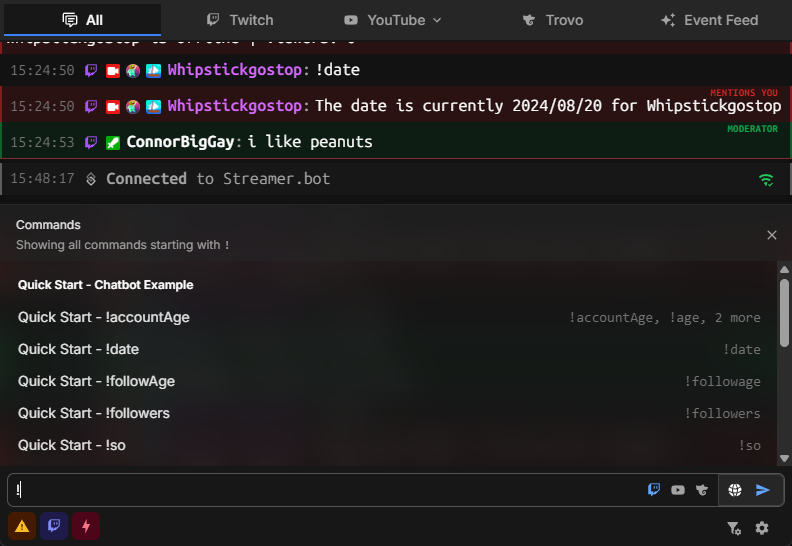
Streamer.bot Commands
For commands to appear in the command menu they must be configured with:
- Set
LocationtoStart - Start with the
!prefix
When selecting a command, Enter will submit the command immediately to chat.
If you wish to add input for a command, use Tab to select the command and continue typing.
Emote Autocomplete
Emote autocomplete can be triggered at any time and contains emotes from the following sources:
- Twitch
- YouTube
- 7TV (Twitch & YouTube)
- FFZ (Twitch)
- BTTV (Twitch & YouTube)
To select an emote and continue typing, you can use either Enter or Tab
Quick Actions
In settings, you can configure Quick Actions for 3 different sources.
Quick Actions allow you to immediately execute any of your Streamer.bot actions with custom arguments.
Global
Global Quick Actions are displayed in the bottom-left of the chat window and can be executed at any time.
User
User Quick Actions are displayed in the View User popup windows that display when you click on a username in chat.
Additional arguments are populated with the usual user args for the respective platform.

Message
Per-message quick actions appear when you hover over a specific chat message.
Additional arguments are populated with the usual message args for the respective platform.

Event
Event quick actions appear when you hover any event message
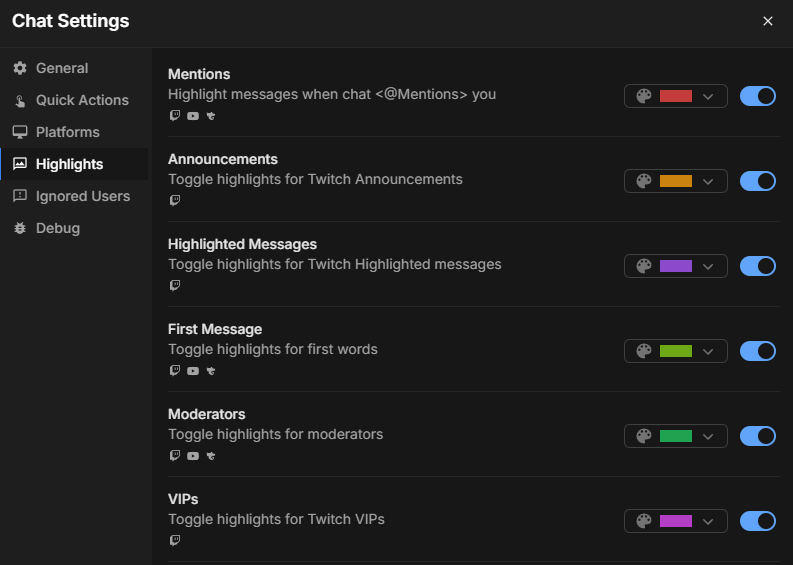
Highlights
Message and event highlights can be customized for a variety of events.

OBS Browser Dock
You can dock the Streamer.bot chat in your OBS studio instance.
Setup
Enable WebSocket Server
- Enable
Auto-Startto automatically start the server when Streamer.bot starts up - Enable
Authenticationand set aPasswordto allow sending messages - Start the server if it is not already started
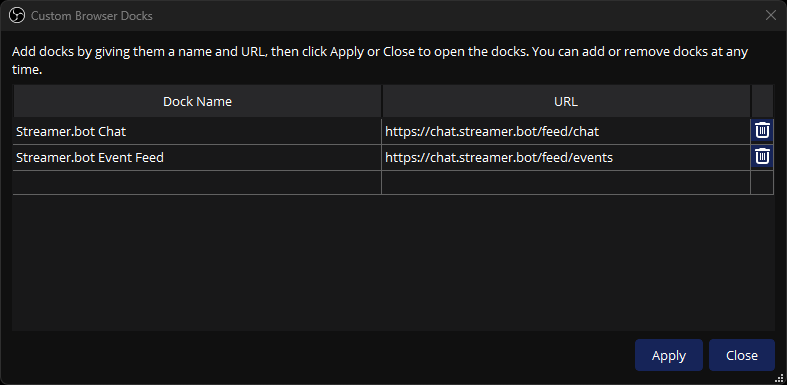
Configure OBS Studio
You can add any of the following URLs:
| Name | URL |
|---|---|
| Streamer.bot Chat | https://chat.streamer.bot/feed/chat |
| Streamer.bot Event Feed | https://chat.streamer.bot/feed/events |
Configure Connection Details
- Enter your Streamer.bot WebSocket Server details in the dialog:
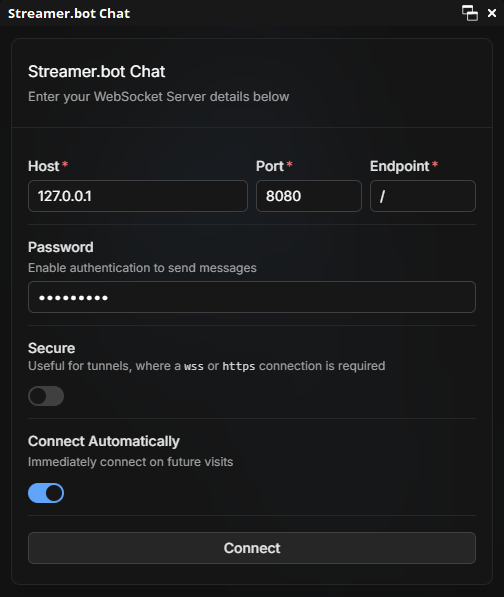
Done!
Settings
All settings in OBS Studio docks and browser sources are shared with each other, but they are separate from the internal Streamer.bot chat window.
Sync from Streamer.bot
You can sync settings from the main Streamer.bot chat window in Settings > General
This is a one-way sync, from Streamer.bot to the docked chat and will override all existing settings on the docked chat.
Limitations
Docked chat is limited in some ways due to requiring the WebSocket Server to function independently of Streamer.bot:
- Local Access
127.0.0.1might be required- This depends on the security settings of your web browser or environment
- i.e. modern web browsers will block connections to other IP Addresses
- The recommended solution to work around this is with secure tunnels
- e.g. Tailscale Serve, Cloudflare Tunnel, ngrok, etc...
- This depends on the security settings of your web browser or environment
- Built-in moderation actions are removed
- Custom quick actions can be used as a workaround for most of these
- Most built-in slash commands are removed
Overlay
Chat overlay mode allows you to easily add chat as a browser source in OBS Studio or other streaming software.
Setup
Enable WebSocket Server
- Enable
Auto-Startto automatically start the server when Streamer.bot starts up - Start the server if it is not already started
Configure Chat Overlay
- Modify any overlay settings, which will then be persisted in the URL
- Make sure that the
WebSocket Server Configurationmatches your Streamer.bot WebSocket Server settings
Add to OBS Studio
- Click
Save & Copy Overlay URLto save your settings and copy the URL to your clipboard - Add a new browser source in OBS Studio and paste the copied URL
Done!
Commands
Some chat slash commands can manipulate the chat overlay:
Custom Styles
Currently, customization of chat and overlay requires custom CSS overrides.
Some data-attributes have been added to the DOM for easier targeting of specific elements.
Chat Messages
These attributes are available specifically on chat message rows.
Values:
twitch, youtube, kickEvents
These attributes are available on all rows visible in chat, including chat messages.
Values:
Twitch, YouTube, Kick, etc...Values:
ChatMessage, Follow, Subscription, etc...Examples
Below are some example snippets showing how to target these attributes in your CSS:
/* Hide all rows originating from Twitch */
[data-platform="twitch"] {
  display: none !important;
}

/* Hide messages from a specific username */
[data-username="someannoyinguser69"] {
  display: none !important;
}

/* Highlight messages from a specific user */
[data-username="bestmodever"] {
  background-color: rgba(255, 215, 0, 0.2);
  border: 1px solid gold;
  border-radius: 4px;
}

/* Custom CSS for Twitch Follow events */
[data-event-source="Twitch"][data-event-type="Follow"] {
  background-color: rgba(100, 65, 165, 0.2);
  border: 1px solid rebeccapurple;
  border-radius: 4px;
}